If your current hardwood floors possess lost their stand out, started to acquire surface scuffs and even scratches, or just need some washing and sprucing way up then sandless resurfacing may be exactly what you need. This specific process works for all types of hardwood floors which include; solid unfinished (floors which were finished in site), solid before finished (floors of which were purchased already finished within a factory), and engineered wooden floors. Depending on the sort of wood floors you have this specific process may vary a bit.
I will cover the required steps for every single type of flooring.
* Bona brand "Prep" or Basic Coatings brand "Tycote" (these are etching alternatives that help guarantee a new finish will bond in order to your floors - note: only required for pre finished solid or pre finished engineered floors)
* A wooden floor finish of which is compatible along with the etch product; in case you are getting the Bona product I'd recommend Bona Site visitors HD finish or even Bona Woodline finish, or in case you get the Basic Coatings Tycote, I'd advise their Street Boot Finish.
* Floor Buffer - You can rent a floor buffer at nearly any tool lease store and at several home improvement stores. Should you have never leaped a regular buffer you may consider finding a square buffer as these vibrate rather compared to oscillate.
* Hoover - I advise one which has a gentle bristle or soft felt brush.
5. MicroFiber Dust Cleaner
* Applicator - I recommend a great 18" t-bar design application made by simply Duratool. Lambswool programs, and smaller quick sleep paint rollers can also work intended for this.
* Brush - I prefer the foam type 3-4" wide tooth brushes.
* Buffer Cushion - White Parts (1-2) also offered at tool rental store (additional reddish or maroon cushion when you have pre done engineered or before finished solid floors)
* Sanding Monitor 150 or two hundred and twenty grit - These are also available in tool rental shops or online. A good alternative to these are Norton company sand dollars load pads.
Prep
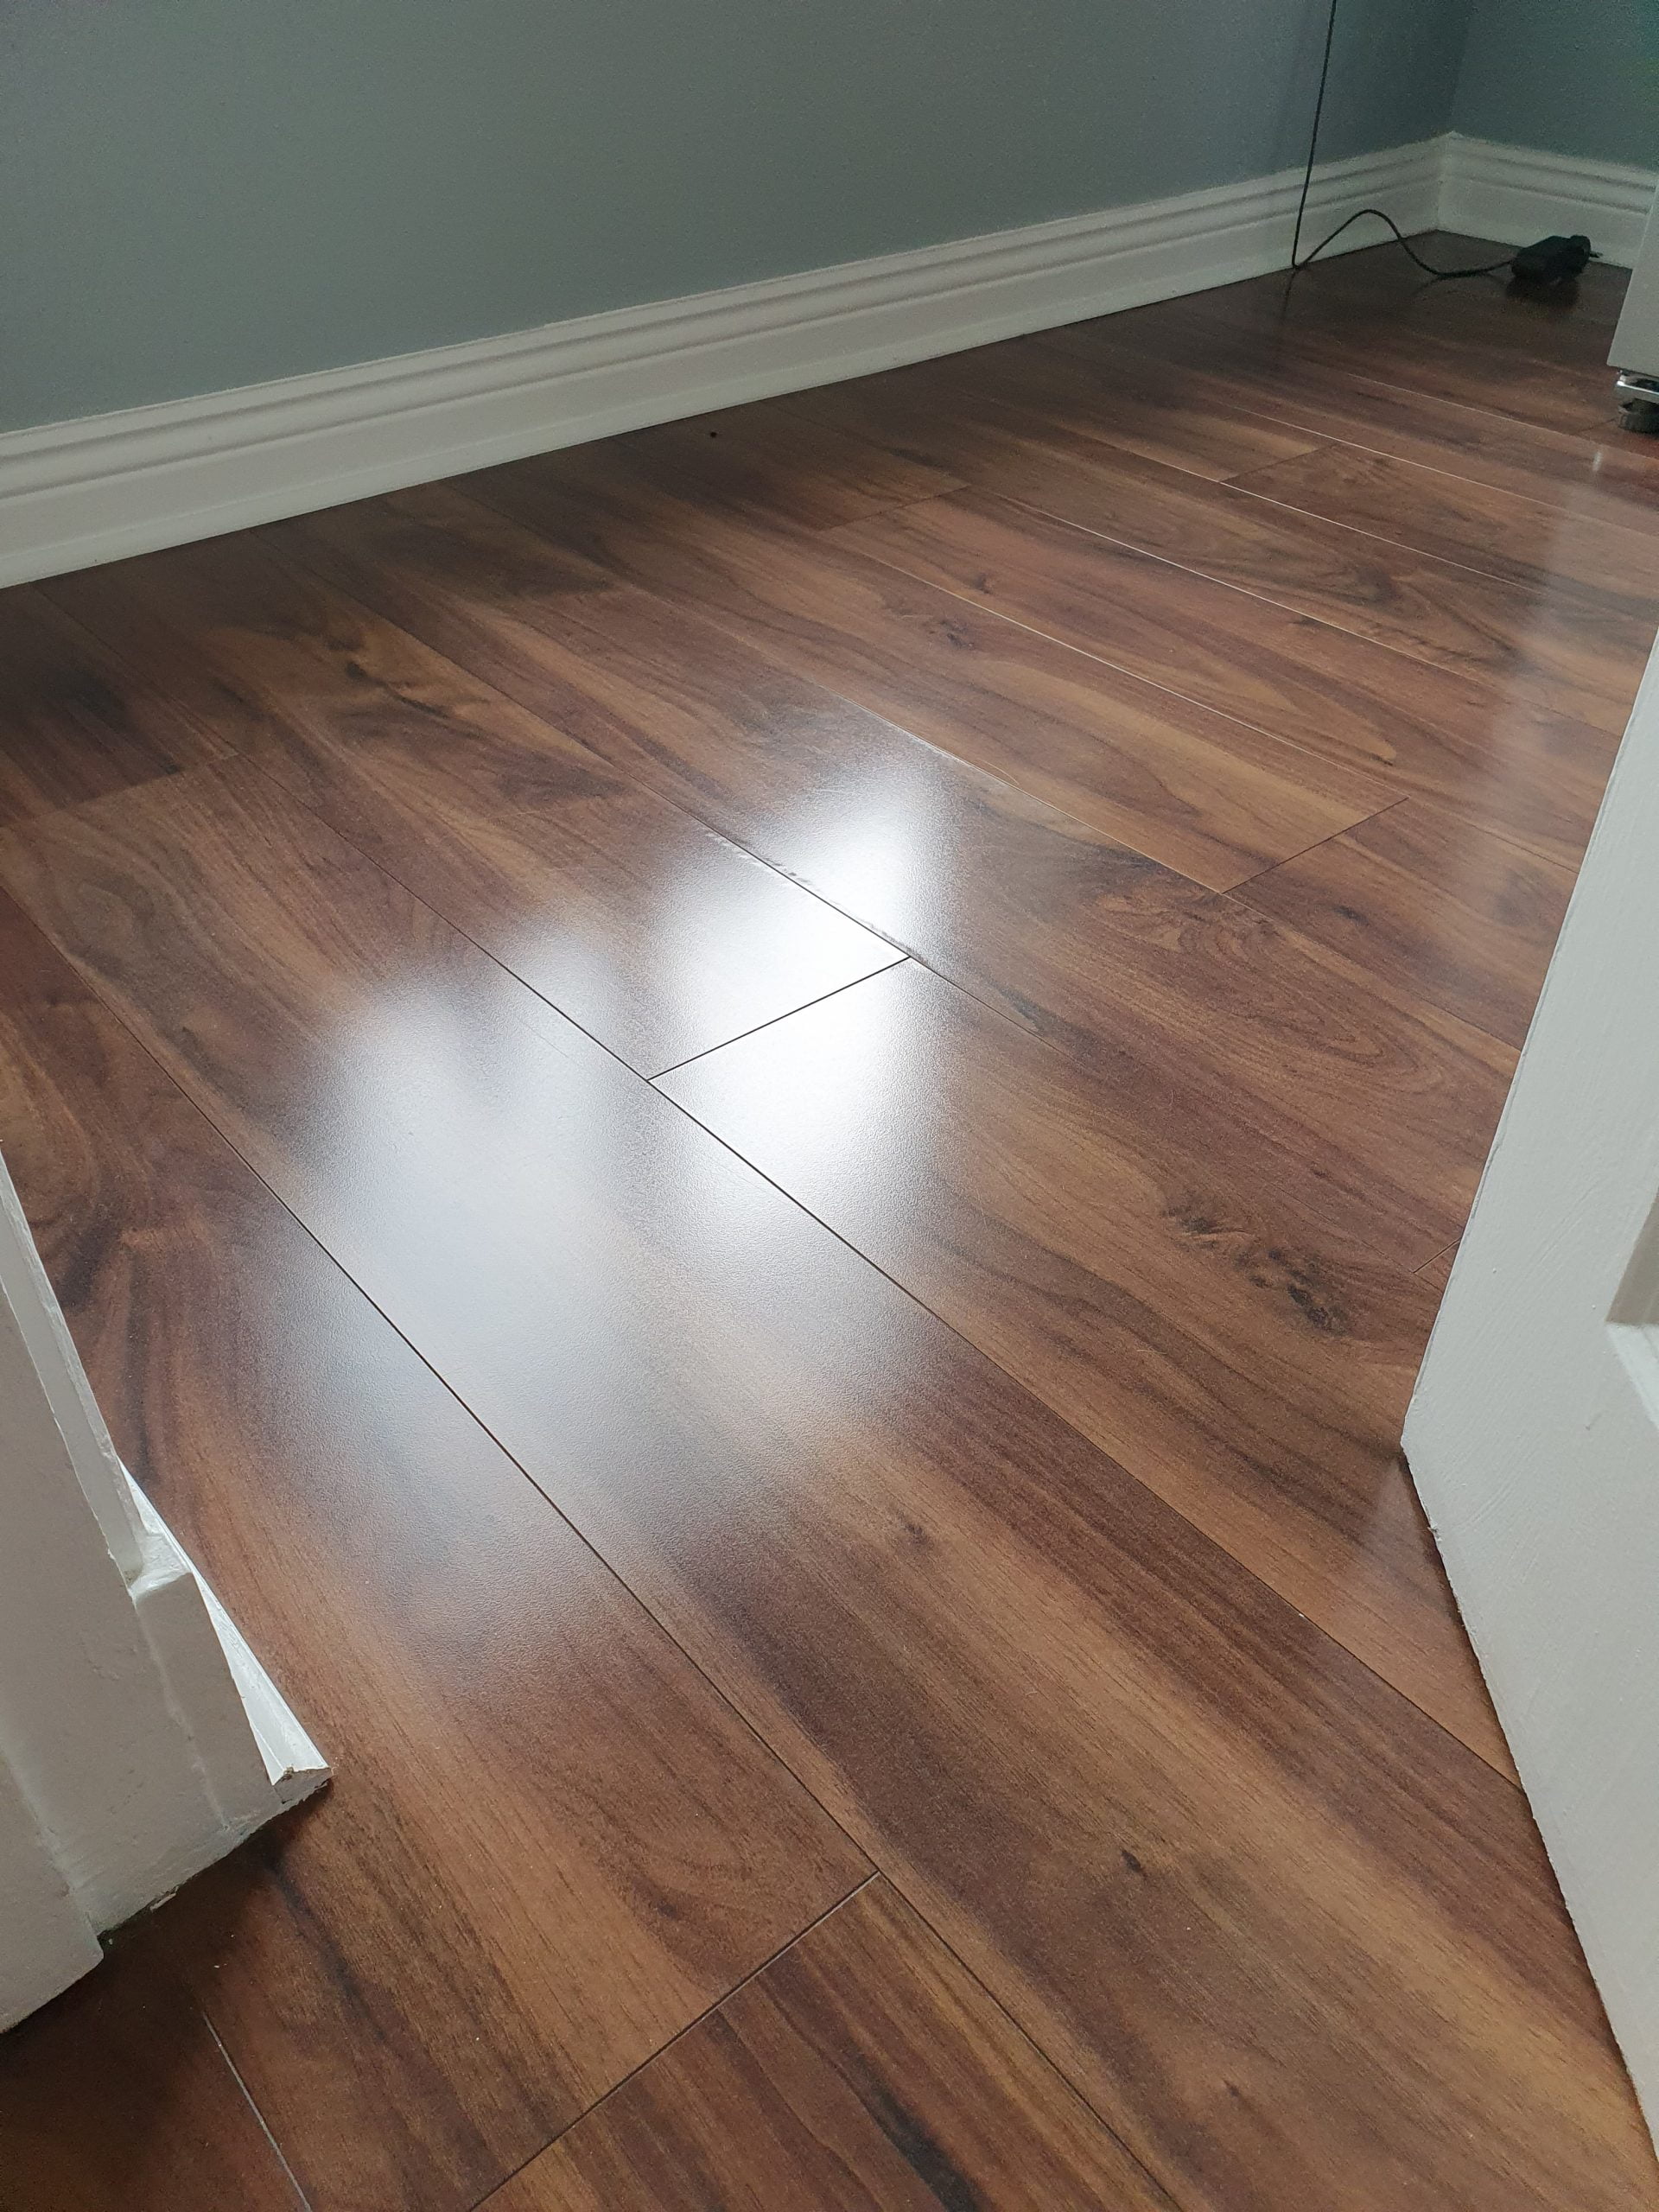
Typically the first thing you'll want to do is prep the room you are doing. You'll want to be able to remove all furniture and any various other items that are recorded the floors you are carrying out. It's also a new good idea to be able to use some painters recording to tape out of the baseboards, plus to tape off adjoining surfaces/floors that you want to protect. You may also desire to hang up several plastic film found in doorways to help include the dust developed. You'll also would like to clean your floor surfaces and make confident that we now have no bits of debris while these things could get caught under the buffer and scuff the floors.
Buffing
After prepping the particular space now it's time to buff the flooring. Take the white buffer pad make in on the bottom from the terme conseillé drive head. Then put
https://www.qcflooring.co.uk/ layering screen under the white pad (the screen is exactly what you want in order to be touching the particular floor). Now start the buffer and moving in the back and up motion buff more than the floors seeking to go with typically the grain of typically the wood. Make an effort to cover every inch associated with the floors very well.
After buffing the particular floors now a person wish to consider an employed piece of the sanding screen and casually hand sand within areas of the floors that the stream wouldn't reach such as corners, under cupboards, under radiators etc . This is just to also etching the surface of these areas too.
The next measure will vary some sort of bit in line with the sort of flooring you might have.
If you experience pre finished floor, the next point you should do is to aficionado the floors once again. Now you desire to use only the red or maroon buffer pad. Ok now what you're going in order to do is a damp or damp buffing. You want to be able to mist some associated with the Bona Ready of Basic Coatings Tycote onto the floor using an apply bottle. This stage is to etch the surface regarding the floors also to ensure that a new coating may bond to the layer that is on the factory finished floors product. You'll need to do this really well to make sure you get just about every inch in the floors and that every single inch has the etched or uninteresting type of look to be able to it. You'll actually want to get an item of the buffer pad and get into the corners and other small spots that the buffer wouldn't reach.
(note: you can utilize this kind of step on solid wood floors that had been site finished as well, especially if you have any kind of doubts about a new coating sticking to the existing finish you experience or in case you have used any wax dependent cleaners or rejuvenating products which can be wax tart based because they can prevent new linings from sticking with the particular floors)
Cleansing
Right after you complete the particular buffing part regarding the project, nowadays you want to be able to brush your floors very well. You'll want to machine the floors genuinely well and after that dust mop these people effectively.
Coating
Once you have cleansed the floors, today you're ready in order to apply the coating(s). The actual manufactures instructions for that amount involving square feet regarding coverage per gallon. Apply the surface finish with the grain making use of whatever type regarding application you selected up. Be confident to operate segments.
Let Dried
After you have applied the coating today you'll just desire to wait the manufacturers recommended dry period before walking in the floors. You can find this specific on the end container. Then you are going to want to wait the manufacturers advised moment for curing just before putting furniture back into place.
Repeat if Wanted
When you'd like a person can also fan the floor once again and apply the 2nd, or third coating for extra protection. I like to recommend buffing after each layer with a 220 grit sanding monitor and following all the other instructions aside coming from utilizing the etching products as they will not necessarily be needed once one coating will be applied.


 icons at the top right corner of the subsection.