Repairing drywall is a helpful talent for householders and DIY enthusiasts. Knowing the next key factors about drywall repair will help you efficiently deal with common issues:
Identify the Damage Type: Before starting any repair, establish the kind and extent of the injury. Common forms of damage embody small holes, cracks, dents, water damage, and bigger holes. The repair strategy will range relying on the damage sort.
Gather Necessary Materials and Tools: Depending on the repair, you may need supplies like drywall patches, joint compound (mud), drywall tape, sandpaper, and paint. Ensure you have the appropriate tools, including a utility knife, putty knife or trowel, sanding block, screwdriver, and a saw for cutting drywall patches.
Safety Precautions: Wear safety gear, including security glasses and a dust masks, to guard your eyes and respiratory system from mud and particles generated during the restore process.
Prepare the Work Area: Clear the realm around the damaged drywall, eradicating any furnishings or obstacles that might hinder your work. Lay down drop cloths to catch mud and debris.
Cut Out Damaged Drywall: For holes or damaged areas larger than a number of inches, cut out the broken part in a square or rectangular shape. Make positive the perimeters are clean and smooth.
Install a Patch: If you've got minimize out a piece, set up a drywall patch that fits the hole. Secure it in place with screws or adhesive, making certain it is flush with the encompassing wall.
Apply Drywall Tape: For seams and joints, apply drywall tape to bolster the restore. Use either paper or fiberglass mesh tape, depending on your desire.
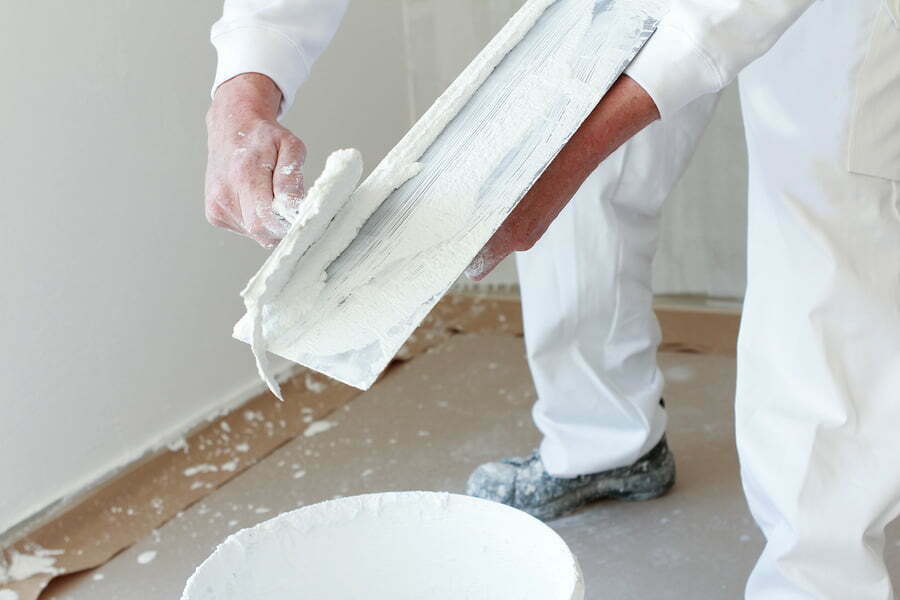
Apply Joint Compound (Mud): Use a putty knife or trowel to use a skinny layer of joint compound over the patch or taped area. Feather the sides to create a smooth transition. Let it dry in accordance with the producer's directions.
Repeat Layers: Depending on the restore, you could need to apply a number of layers of joint compound, permitting each layer to dry and sanding between coats.
Drywall Sacramento builds up the restore and ensures a seamless finish.
Sand Smooth: Once the joint compound is totally dry, sand it easy utilizing fine-grit sandpaper or a sanding block. Feather the sides to mix with the encircling wall.
Prime and Paint: After sanding, prime the repaired area to create a uniform floor for paint. Once the primer is dry, paint the repaired section to match the encircling wall or ceiling.
Clean Up: Dispose of dust and debris properly, clear your instruments, and remove any drop cloths or coverings.
Match Textures (If Necessary): If your wall or ceiling has a textured end, matching the texture can be difficult. Experiment with numerous methods or contemplate hiring a professional if an actual match is essential.
Take Your Time: Drywall restore can be time-consuming, especially when ready for joint compound to dry between coats. Patience and attention to element will yield one of the best outcomes.
Seek Professional Help When Needed: While many drywall repairs could be DIY initiatives, some complicated or extensive harm could require the experience of knowledgeable drywall contractor to ensure a seamless and professional finish.
By understanding these essential points and practicing your drywall repair abilities, you'll have the ability to successfully tackle widespread points and keep the looks and functionality of your interior areas..


 icons at the top right corner of the subsection.